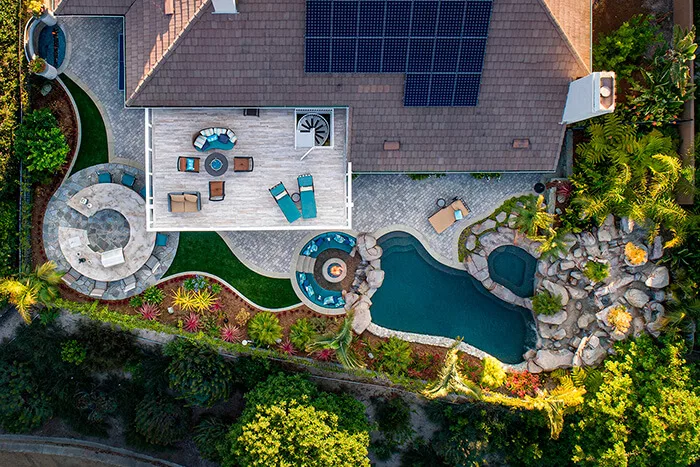
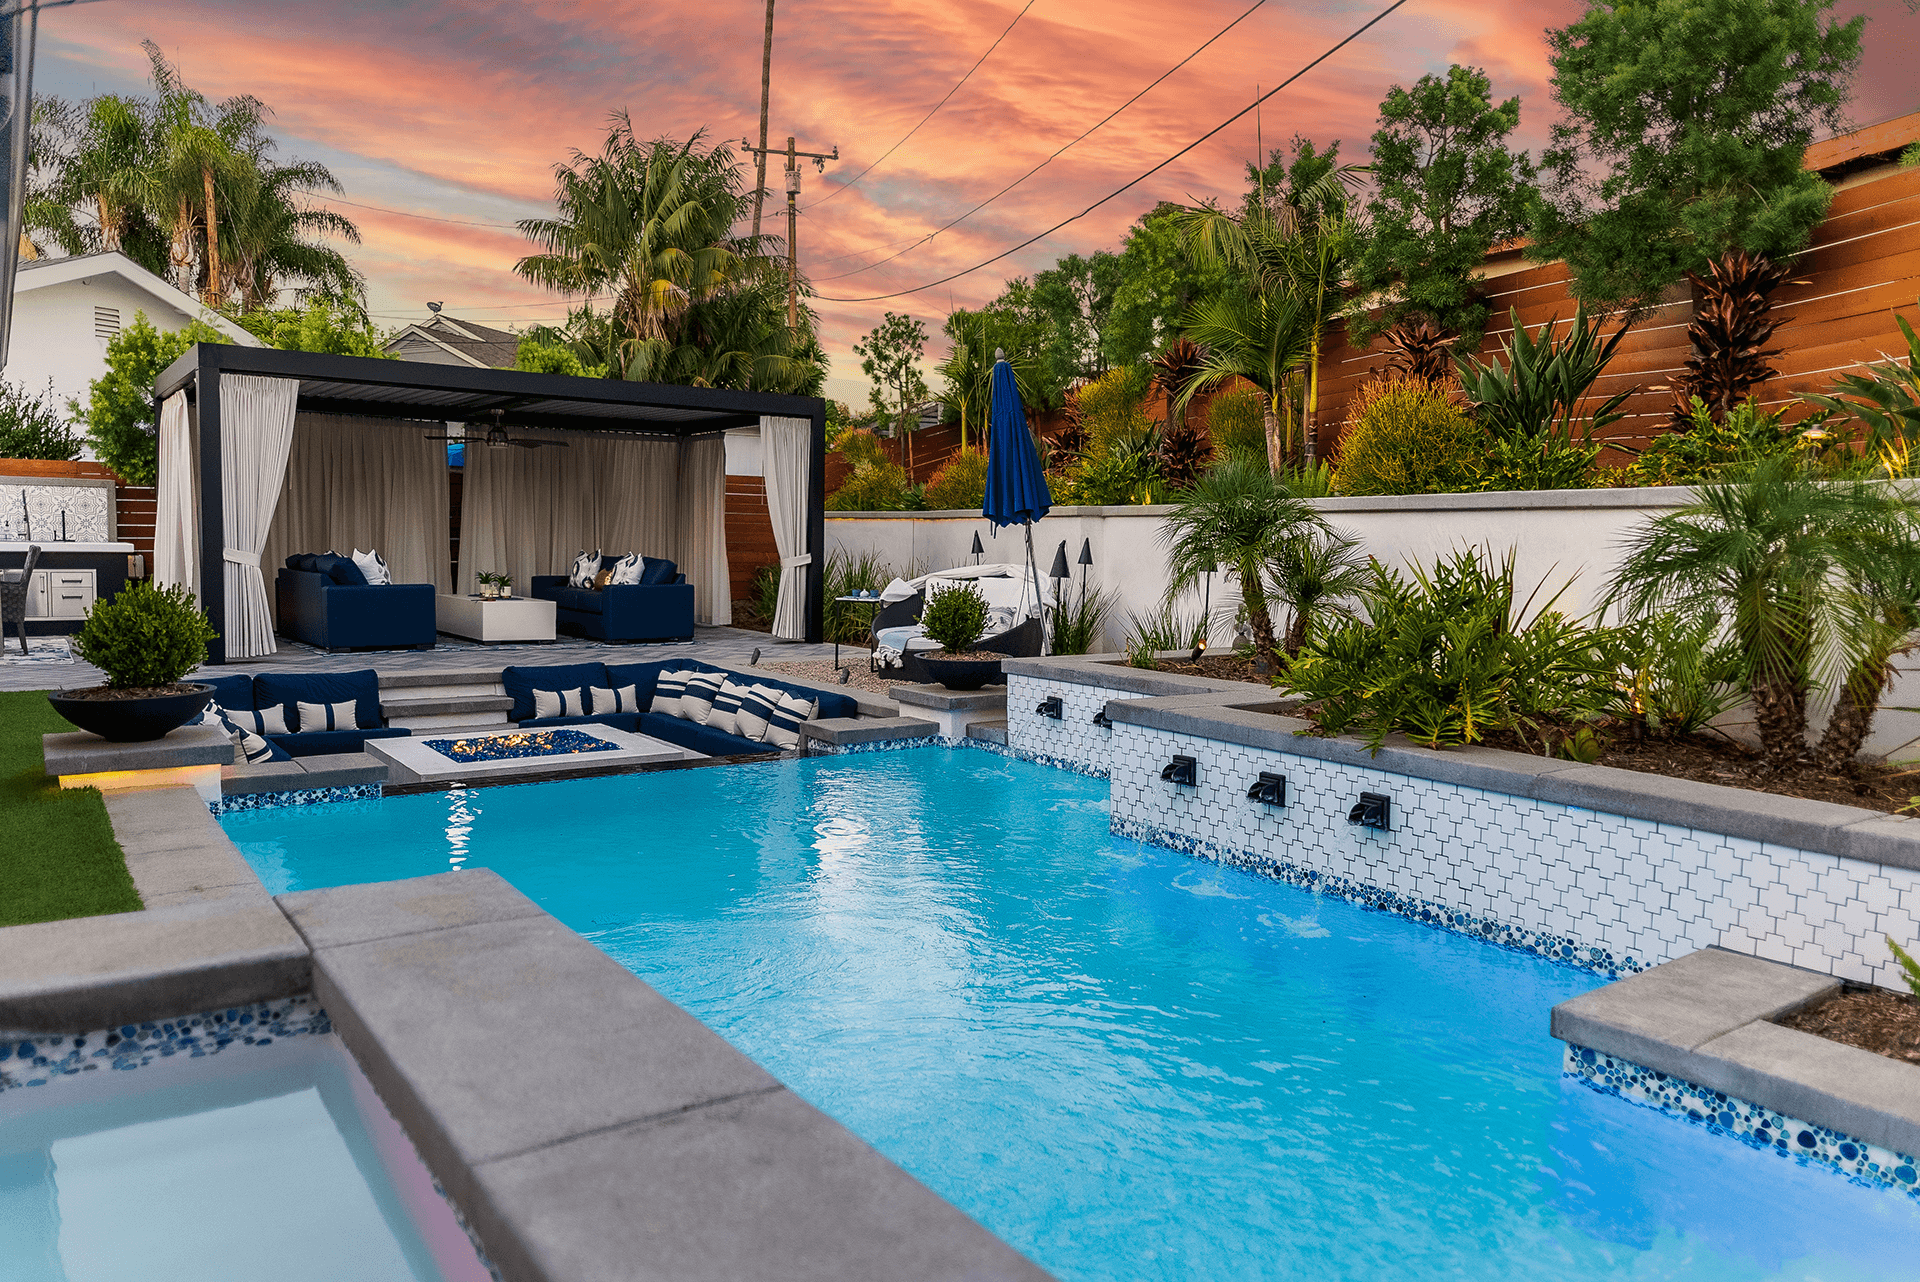
Well-built luxury pools come with longevity and durability. But like most things in life, swimming pool installations are susceptible to some degree of wear and tear. This can result in discoloration, cracks, dents, and chipping. When these issues arise, it’s time for pool owners to replaster their pools. Calimingo’s professional pool builders can help.
Your Pool Replaster Project Starts Here
Let Pool Replastering Experts Breathe Life Back Into Your Oasis
Installing a pool in your backyard is a long-term commitment. And the best way to ensure your relationship with it never ends is to replaster it every 10 years. This helps avoid major issues such as leaks and structural cracks.
And while you could technically replaster your pool yourself, it’s a good idea to get in touch with professionals. At the very least, custom pool builders can give you the advice you need to give your pool an excellent plaster finish. Calimingo is an encyclopedia of pool knowledge. Contact us to discuss your pool replastering project and develop a plan for your backyard remodel.
Add Customization With Top-Rated Custom Pool Builders
Did you know you can choose your plaster color? Once upon a time, white was the only hue available. While it’s a timeless choice, you now have options. So before you start replastering your pool, you’ll want to decide which color would work best with your home’s aesthetic.
How Long Does It Take To Replaster a Pool?
It’s important to know how long replastering a pool takes so you can set aside enough time in your schedule for it. The good news is that it doesn’t take as long as most people think.
On average, the pool replastering process can take four to seven days. The exact time depends on several factors including the size and shape of your pool, your finishing preferences, the weather, and the amount of existing issues.
Let’s see what the process looks like and how to replaster a pool.
How To Replaster a Pool: Step-by-Step
So you’ve chosen the color for the plaster finish — that’s the first step. Whether you picked classic white, a pretty blue, or a chic gray, we’re sure it’ll look as luxurious as you envisioned. Now you can start the pool replastering process.
Step 1: Drain the Pool
The first step to replastering your pool is to completely drain it. Most people don’t own a submersible pump, so you’ll most likely have to rent one. But once you’ve got your pump into the shallow end of the pool, it’s a pretty hands-off step. The pump should be able to tackle the drain in its entirety without you having to maneuver it often. If you have a more irregular-shaped pool, you may need to move the pump around just a bit to make sure it drains out every bit of water.
Step 2: Relieve Hydrostatic Pressure
When there’s water in your pool, the bottom (or shell) stays in place due to all the weight. When you remove all the water, there’s a good chance the pool pops up. As fun as that may sound, it’s something you definitely don’t want happening — especially when it isn’t restricted to a specific area. This could cause the entire shell to rise.
Relieving the hydrostatic pressure can prevent your pool from popping up. There are hydrostatic relief valves on the floor of your pool that can be opened up to keep the shell in place.
Opening the valves, or even locating them, can be a tricky business. You’ll want an expert by your side. Consult Calimingo. We’re specialists in our industry and would love to help you in every step of the pool replastering process.
Step 3: Prep Your Pool
You can’t really add finish to an existing finish, so you’ll have to remove the existing one. With the help of a jackhammer/chipping hammer, you or an expert will lift away the finish (tiles, marble, quartz, etc.) from your pool’s surface.
There’s finish around all the nooks and crannies of your pool, so be sure to check around any jets, underwater lights, and plumbing.
Step 4: Inspect the Surface
Do a thorough walkthrough of your pool. Inspect every angle and corner to ensure there are no imperfections. These can be cracks, hollow spots, or chipping. If found, you’ll need to repair them before you can replaster the surface. This isn’t a process you want to rush.
Step 5: Wash the Pool With Muriatic Acid
Muriatic acid removes a thin layer of the old plaster. Think of it like sanding furniture before painting it. Not only do you want to remove any debris, stains, and calcium deposits, but you want to give it a rough texture. This allows your new material to have a stronger hold on the surface.
While muriatic acid is usually available in most home and hardware supply stores, it’s still an acid. You’ll want to have all the proper personal protective equipment before you begin. If you’ve never worked with muriatic acid before, it may be best to hire a professional to take care of it.
Step 6: Add a Bonding Agent
Before you start plastering away, you need to apply a bonding agent to your pool’s surface. Yes, there’s an art to this. A bonding agent helps ensure your old and new plasters adhere to each other properly.
Bond Kote is a commonly used bonding agent. It’s an acrylic-modified mixture of cement and sand made with a 1:1 ratio of resin and bonding cement. Once the bonding agent is rolled or sprayed onto your surface, let it set for eight to 10 hours.
Step 7: Apply the Plaster
You made it — you’re ready to apply the plaster. While the industry standard is to apply two coats of plaster, some pool installation companies advise applying three. Each coat should be ½- to ¾-inch thick. Once you add the first layer, you must go over it with a trowel to ensure a smooth finish. Let it set, and you’re ready to add your second (and possibly third) layer.
Now you can paint or add the finish of your choice. For more detailed information about pool resurfacing finishes and options, read this.
Step 8: Wash the Plaster Surface
In order to even out any roughness and flatten out bubbles, you should thoroughly wash the pool’s surface in its entirety.
Step 9: Inspect the Surface
After you’ve washed it, carefully inspect the surface and make sure it’s absolutely perfect. If there are any issues, now may be your last opportunity to address them.
Step 10: Fill the Pool
It’s the moment you’ve been waiting for: You’re ready to fill your pool. You’ll want to test the pool water to get a baseline for the chemical levels. The alkalinity, pH, and calcium levels will rise over the next few days. It’s essential to get the alkalinity and pH levels where they need to be, so it’s best practice to avoid adding chlorine or other chemicals for at least three days. Only when the levels are correct can you add chlorine.
As tempting as it may be, avoid swimming in your new luxury pool until the chemical levels have been sorted out. This could take anywhere between four and seven days.
Get Back Your Luxury Through Replastering
Cost of Pool Replastering
Replastering a pool costs an average of $6,500 for a 1,000-square-foot pool. Your final cost will depend on several factors, including the size of your pool, your location, and your finishing preferences.
While it may seem like a costly process initially, the benefits you reap in the long run are priceless. You’ll have a beautiful, luxurious pool that matches the aesthetic of your home for years to come.
Choose Calimingo To Replaster Your Pool
If you’re looking to replaster your pool yourself, great. We’re glad we could provide you with the necessary information to tackle this project, including how long replastering takes and the cost to replaster a pool.
But if you’re someone who craves a professional touch and wants to ensure there are no issues that come up later down the road, get in touch with a team expert. We’d love to help you with your pool replastering project and turn your backyard into the clean, luxurious, and sophisticated space you’ve always craved.


